Nesting Gone Awry: DIY Chalk Paint with Diatomaceous Earth
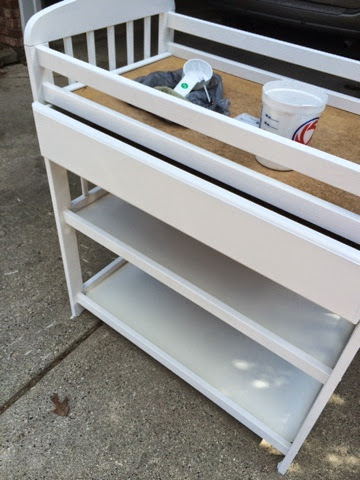
The best thing about Craigslist is finding treasures for cheap. The worst thing: cheap treasures often need a good helping of TLC. Take this incredible changing table, for example.
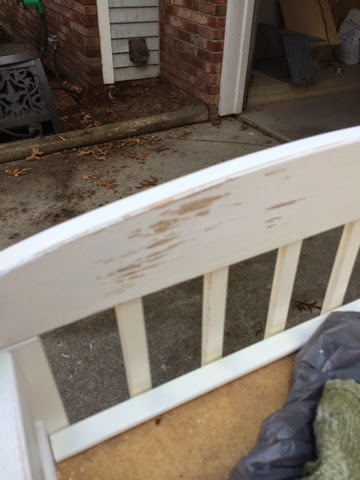
White, but peeling and scuffed, and at some point in the past touched up with a shade of white not quite the same as the original. The solution? Fresh paint! And since I love the creamy look of chalk paint and hoped to match the other antique furniture in the nursery, my choice was easy.
Next step, look up recipes online and realize I don't have the slightest idea where to buy calcium carbonate locally, and don't want to wait for shipping, don't like the idea of plaster of Paris dust around the kids, and I just happened to have this in my garage:
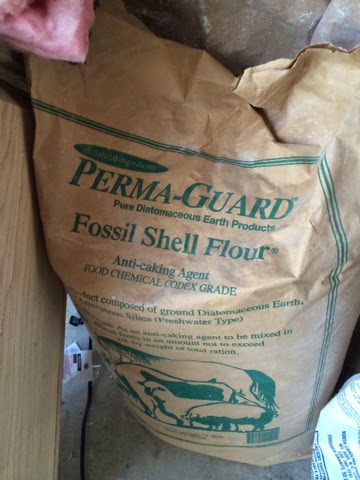
Again, easy answer. 50lbs of diatomaceous earth (bought for chicken keeping) would be more than enough (as in waaaaaay more than enough). My recipe: 1/4 Cup DE, 1/2 Cup paint, 2 Tbsp water.

First scoop your DE and add the water. Then whisk until smooth-ish.
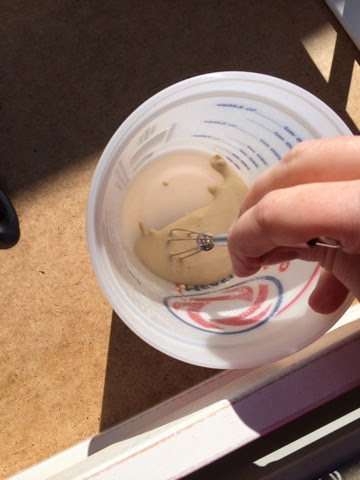
Whisk some more after adding the paint. I used a basic Valspar white.
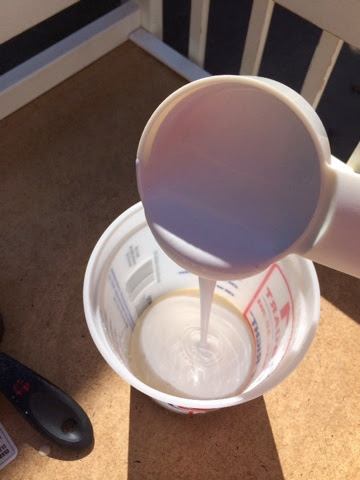
Here it is after the first coat:

You can see how nice and thick it is, though it clearly needs a second coat.
Ah, better. It dried very quickly. Like ten minutes. I then took it inside and distressed with all the typical tools of the trade.
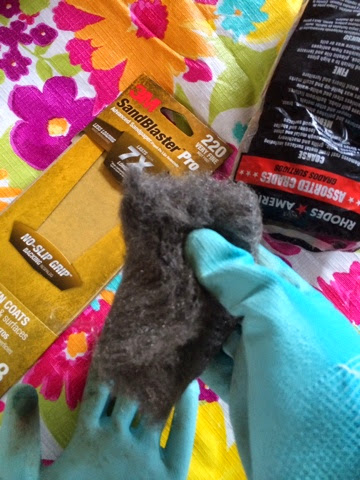
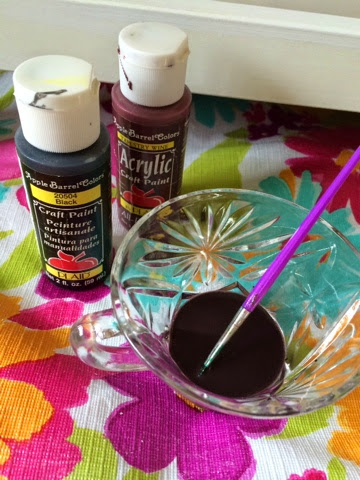
Oh, but do let the paint cure a bit before distressing or you might end up rubbing off the paint in big chunks. Since the white was so very WHITE and stark, I added a bit of patina by making a paint-water wash and applying carefully around the edges. Be warned: chalk paint devours color and it's very easy to over-distress a piece by doing this! Steel wool too tends to leave a gray coloration over the finished product.
One could finish with wax or a coat of varnish of choice: poly, minwax polycrylic (my pick), shellac. See below the drawer post-distressing.
Almost finished chalk-paint using diatomaceous earth
Remember that thing I said about over-distressing? Yes, I did that. Above is just the drawer. I really went to town on it after that. I felt the piece looked more shabby than chic, so much that I didn't even take pictures. After some tears and profanity I decided to go a different route. Decoupage! Fun! That lesson is coming soon.


We have a gorgeous, absolutely beautiful custom made farm table in our dining area. Beautiful at first glance. Sit down at it however, and try to eat and you’ll discover a few not so lovable details. Like glasses will tip over if placed in just the wrong spot. Your clothing will catch on splinters in the chairs or the edge of the table. Some of the plugs look suspiciously like wood filler. And if you look closely, the gaps between boards just might be packed with yesterday’s (last week’s?) noodles, rice, etc.