This One Hack Made My Mom-Life Better and My Kids Happier
Want a free printable guide with inventory sheets? Scroll down!
It’s any random evening. I’m doling out the usual pre-bedtime chores.
Pick up, put away, no, really put it away properly—
Not under the chair, all the pieces!
Oh whatever, just go brush your teeth.
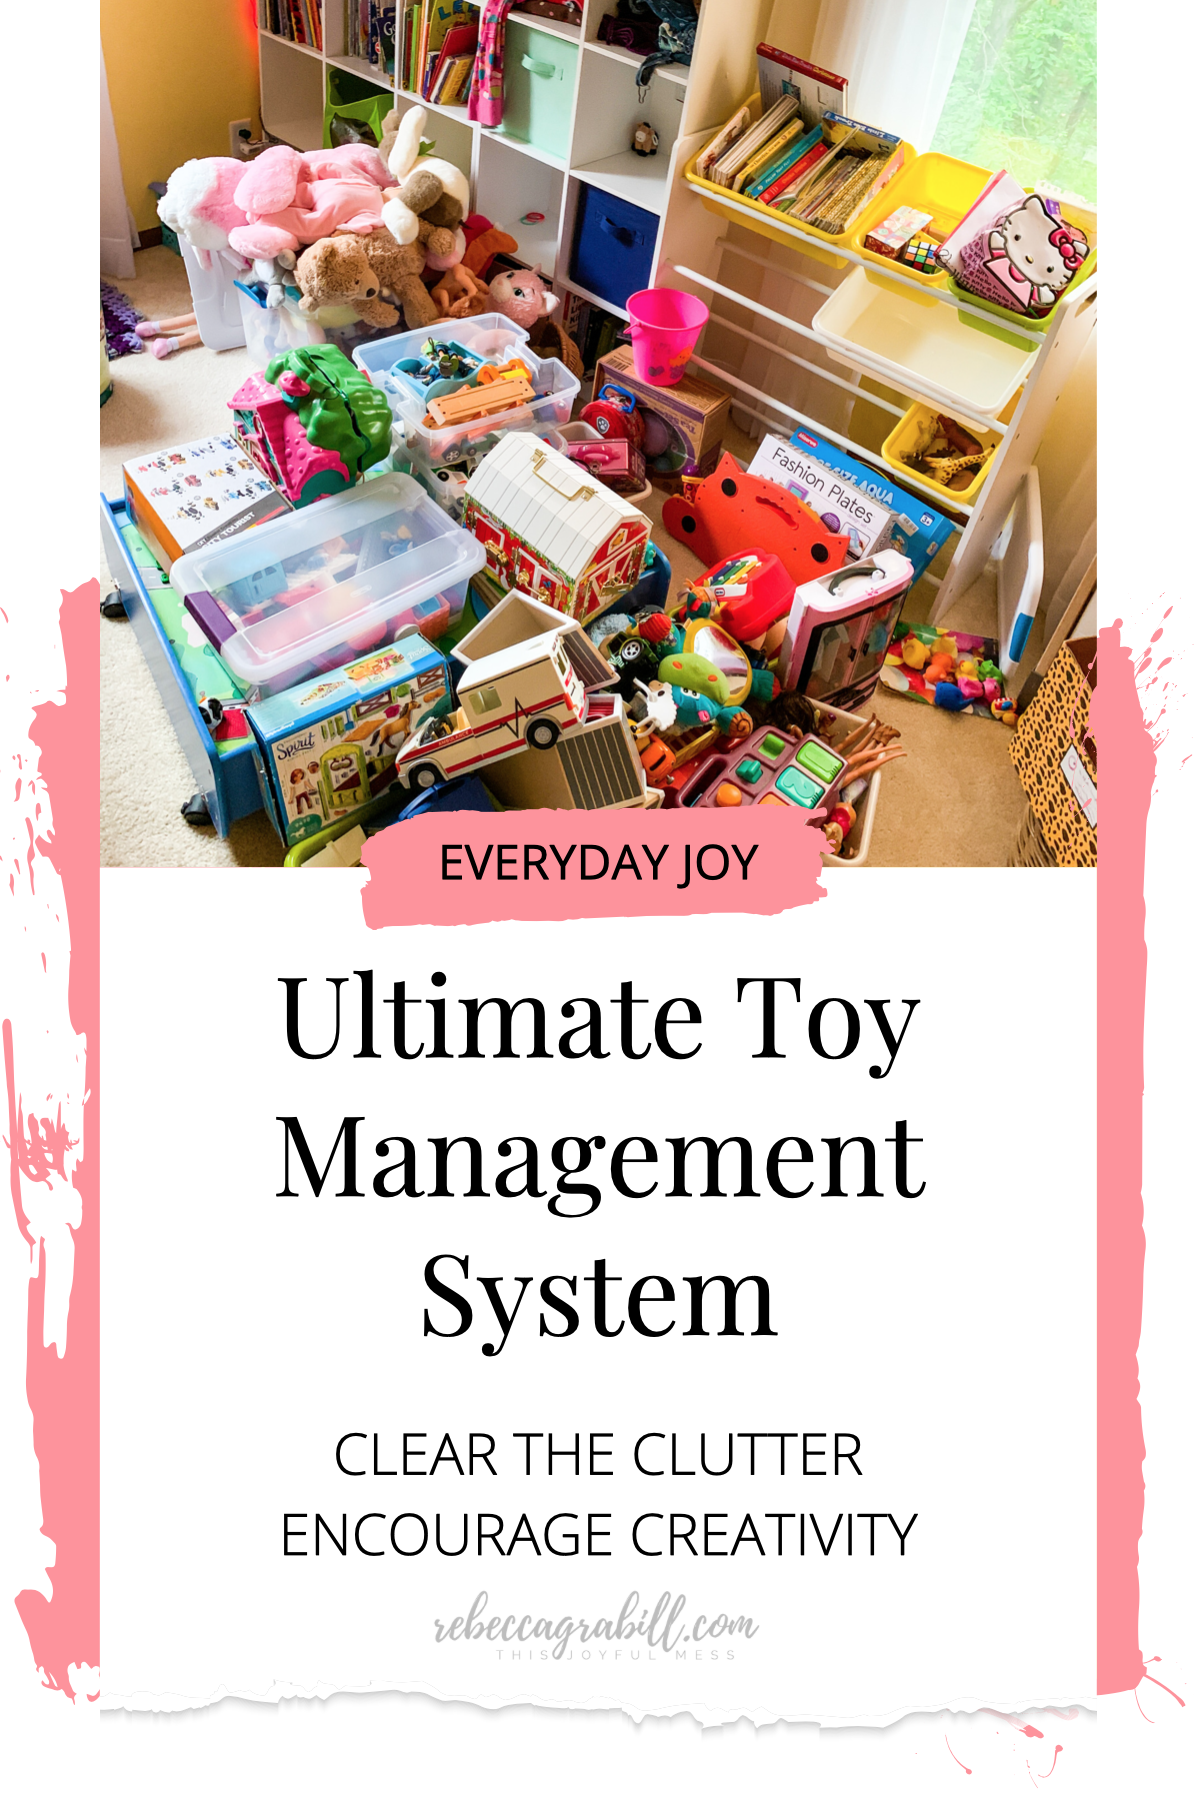
So. Many. Toys.
We have no dedicated playroom. And we have six kids.
Even with regular purges, almost two decades of birthdays and Christmas gifts add up. While I try to instill a habit of “pick up one thing before you get anything else out” there are still far, far, far too many playthings in our home.
And, true confession, very few of our toys actually get played with.
Every holiday my kids will unwrap and immerse themselves in whatever is New.
Magnatiles! Amazing! They’ll occupy the kids for hours in those early days. Lincoln Logs, new Lego set, the same.
But after a few weeks (or days or hours) the new toy is an old toy and all old toys are boooorrrriiinggg.
So we end up with Magnatiles and Bitty Baby and Duplo scattered over the living room, while the kids glue themselves to screens, and every night we pick it all up only to pull out the same old toys again the next day.
Something had to change.
I looked online. My search history looked like:
“Help, my kids have too many toys”
“Can I throw all my kids’s toys away without damaging them emotionally?”
“But after a few weeks (or days or hours) the new toy is an old toy and all old toys are boooorrrriiinggg.”
“Can a five-year-old be a hoarder?”
—and I kept coming across this crazy idea. It was an idea I had already dismissed. Multiple times.
I mean, a toy rotation, are you kidding?
At best it was extreme, at worst a monumental waste of time and energy.
Seriously, could a toy rotation system actually get my kids to play with their boring old toys again???
And where would I put a bunch of bins of toys.
And how would I get everything gathered up in the first place.
And really, wouldn’t this just be another one of my systems that seems so perfect … until I have to actually, you know, do it?
Or would it last as long as each and every chore chart I’ve tried? That would be: not long enough to matter.
But I was desperate, and under lockdown, and living with three tiny people in one room since all the other rooms were taken by other beings who needed space and quiet for things like virtual school and endless hours of zoom calls. Desperate times, they say.
So I bought four gigantic, ugly-as-sin bins from Costco, printed off some inventory sheets, and started gathering toys.
How did I do it? Was it worth it? How the heck did I do it? Read on …
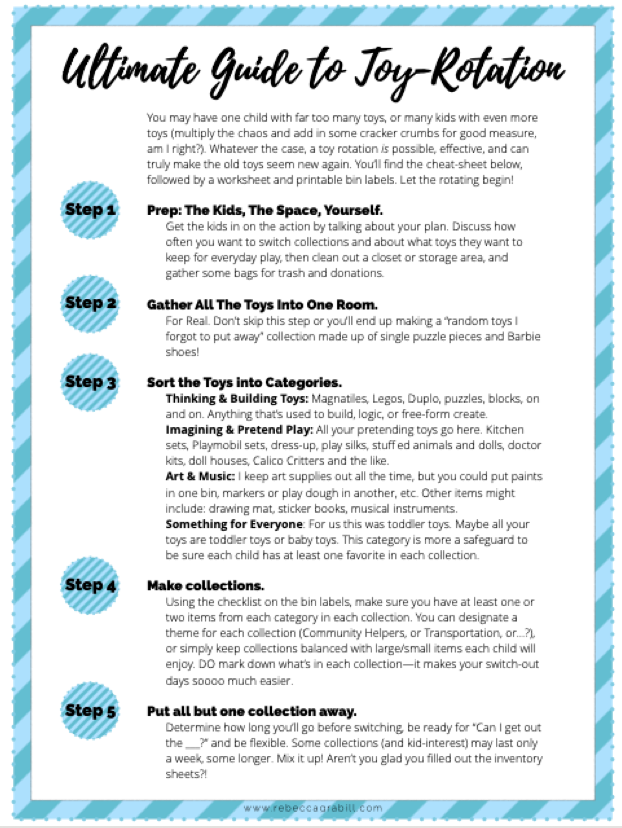
Step 1. Prep the kids for the change.
“So, darling, we’re going to pack away most of your toys so you can’t play with them. Doesn’t that sound fun?”
We had a conversation. A few conversations. Things like, “Wouldn’t it be fun to put some of your toys away in the closet—no, no, we’re not getting rid of them forever, oh, sheesh, no, not your favorite bunny, ok not the cars either, just trust me, this will be fun!”
Eventually, they came around, and then the pestering began.
Mom, when are we gonna do the toys? Mom, when when when???
I was in physical therapy following an ankle injury at the time, so the thought of hiking through all four levels of our home (a glorious 1980s tri-level with finished basement)… well, let’s just say I needed to do this project in baby steps. The next of those baby steps was…
Step 2. Gather All The Toys into one room. For real.
So. Many. Toys.
This was a great opportunity to see the sheer magnitude of toys we’d accumulated.
Which in our case was encouraging. It was less than I expected. All those little bits and pieces seem like waaaay more when strewn across the floor, you know?
All in one place, all the pieces put with their appropriate sets, it wasn’t quite so overwhelming.
The gathering also helped me identify which toys were best donated or trashed altogether. Here’s how I decided what went where:
If it was broken and couldn’t be repaired: trash.
If it was hated (by me or the children), not at the developmental level for the kids: donate.
If I had expectation for more babies, I would have added a category: save for later. But I’m not as young as I used to be, so all the rattles and baby toys except those with intense sentimental value were donated.
Once I had gathered all the toys we planned to keep, had all the rest in appropriate bags for trash/Goodwill, I did a sort-of-half-arsed categorization.
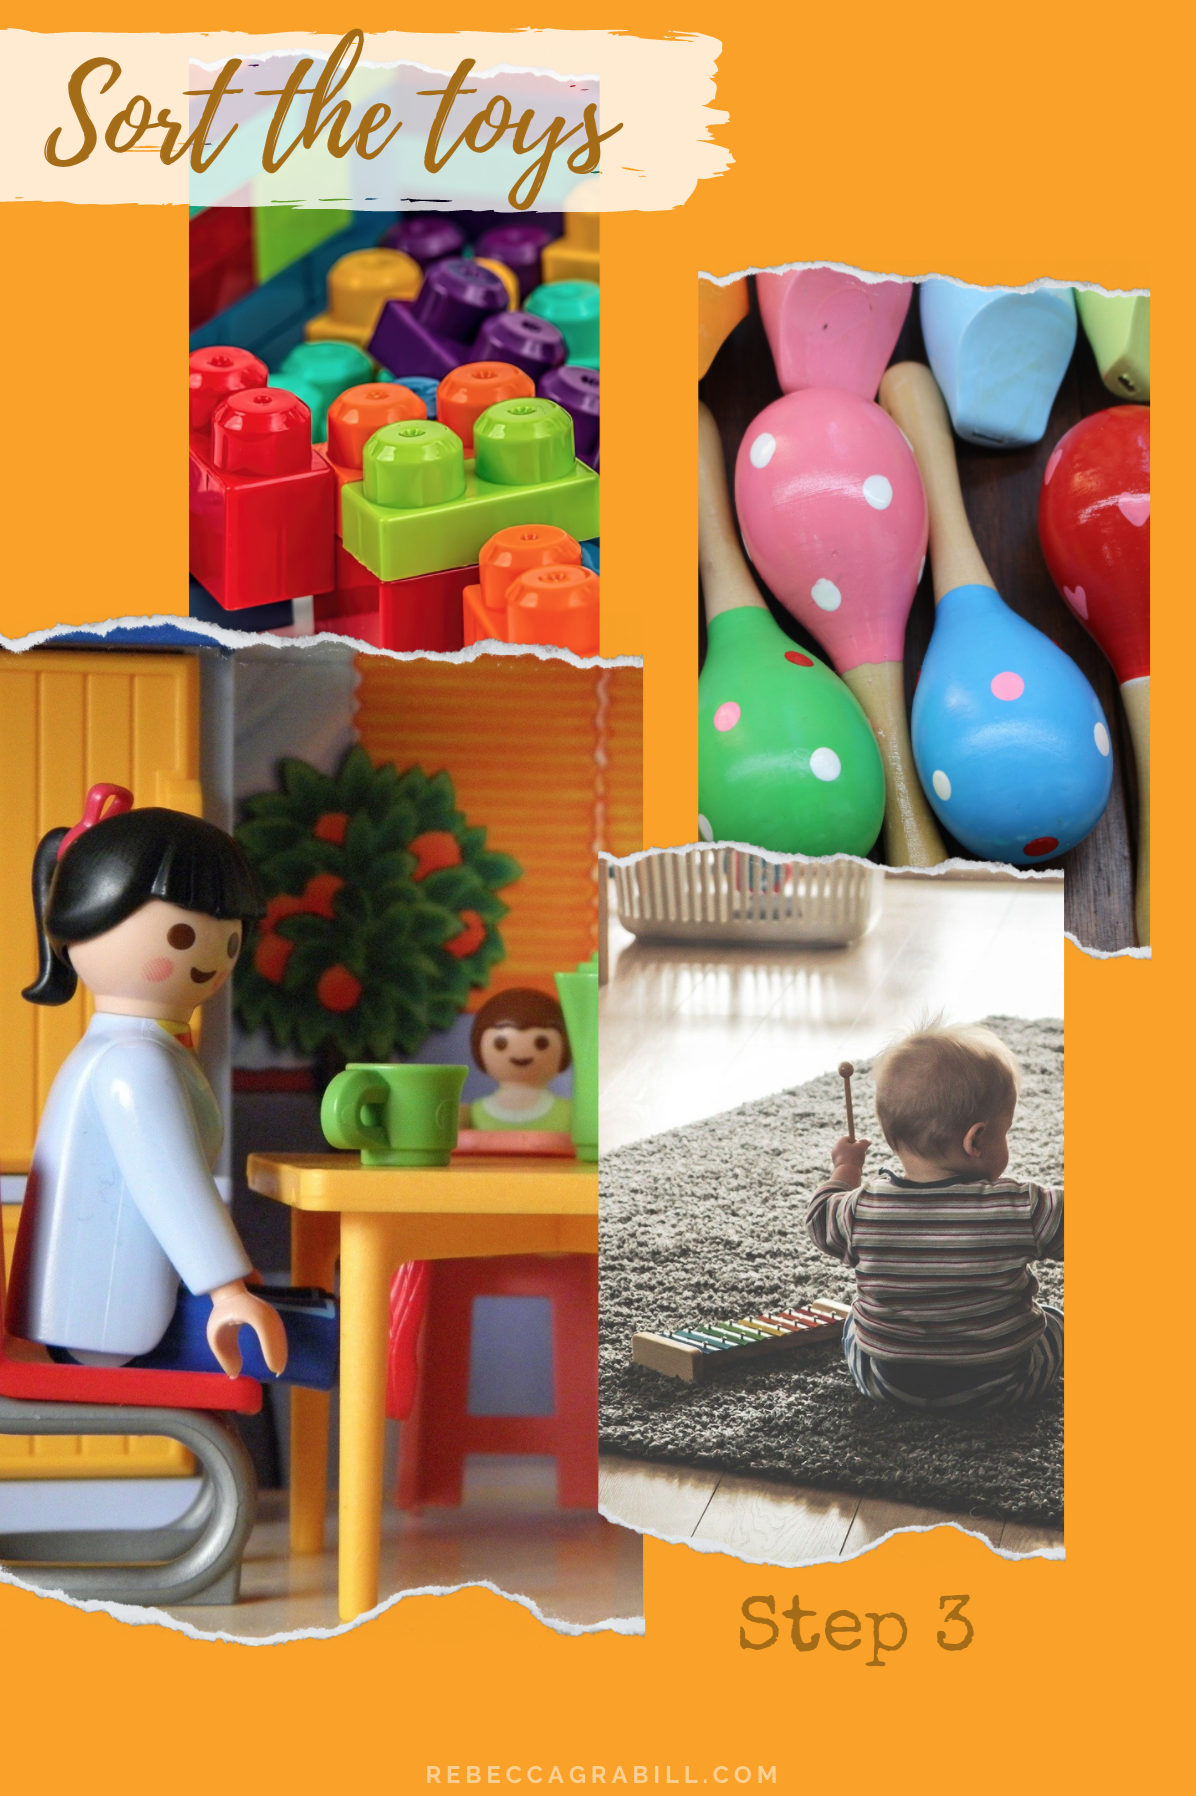
Step 3. Sort the Toys into Categories.
The theory behind the Sorting Hat of Toys is to make sure you have some of each “type” of toy in each collection (what’s a collection? See below!).
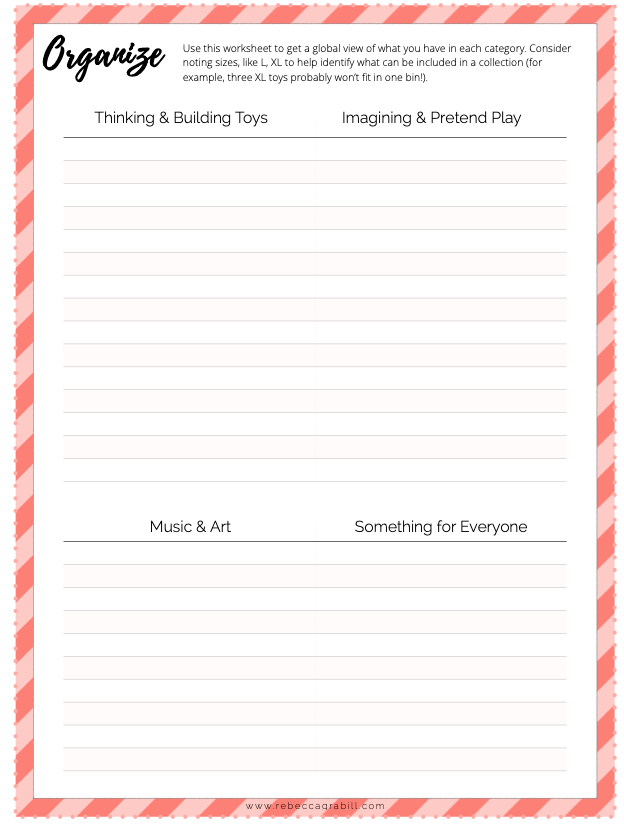
You don’t want one bin filled with nothing but dolls, and another nothing but Legos, right? So before making collections (the bins), sort the toys by category.
Energy was flagging here, and while all the articles and posts I’d read online about setting up a system made this step seem absolutely essential, I didn’t get hardcore with it.
Some of it I did in my mind or on paper without physically moving toys around. I also diverged completely from the category suggestions I found online. One main reason: a big category was “moving toys” like balls and tricycles and whatnot. But, um, those are outdoor toys for us and in the winter are generally not even touched. They also wouldn’t fit in my bins, so… skipped it.
Here are the categories we did use—
Thinking & Building Toys:
Magnatiles, Legos, Duplo, puzzles, blocks, on and on. Anything that’s used to build, logic, or free-form create.
Imagining & Pretend Play:
All your pretending toys go here. Kitchen sets (though our Ikea kitchen stays out, as does the play food), Playmobil play sets, dress-up, play silks, stuffed animals and baby dolls, doctor kits, doll houses, Calico Critters and the like.
Art & Music:
I tend to keep art supplies out all the time so I didn’t have much for this category. But if you want to rotate art supplies, say have paints in one bin, markers or play dough in another, etc. go ahead! I had one drawing mat (pretty cool), some sticker books, and a selection of musical instruments like maracas and a toy piano.
Something for Everyone:
Basically, toddler toys. For us. You may not need this category. Maybe all your toys are toddler toys or baby toys. It’s more a safeguard to be sure each child has at least one favorite in each collection.
Now for the real fun… Making the collections!
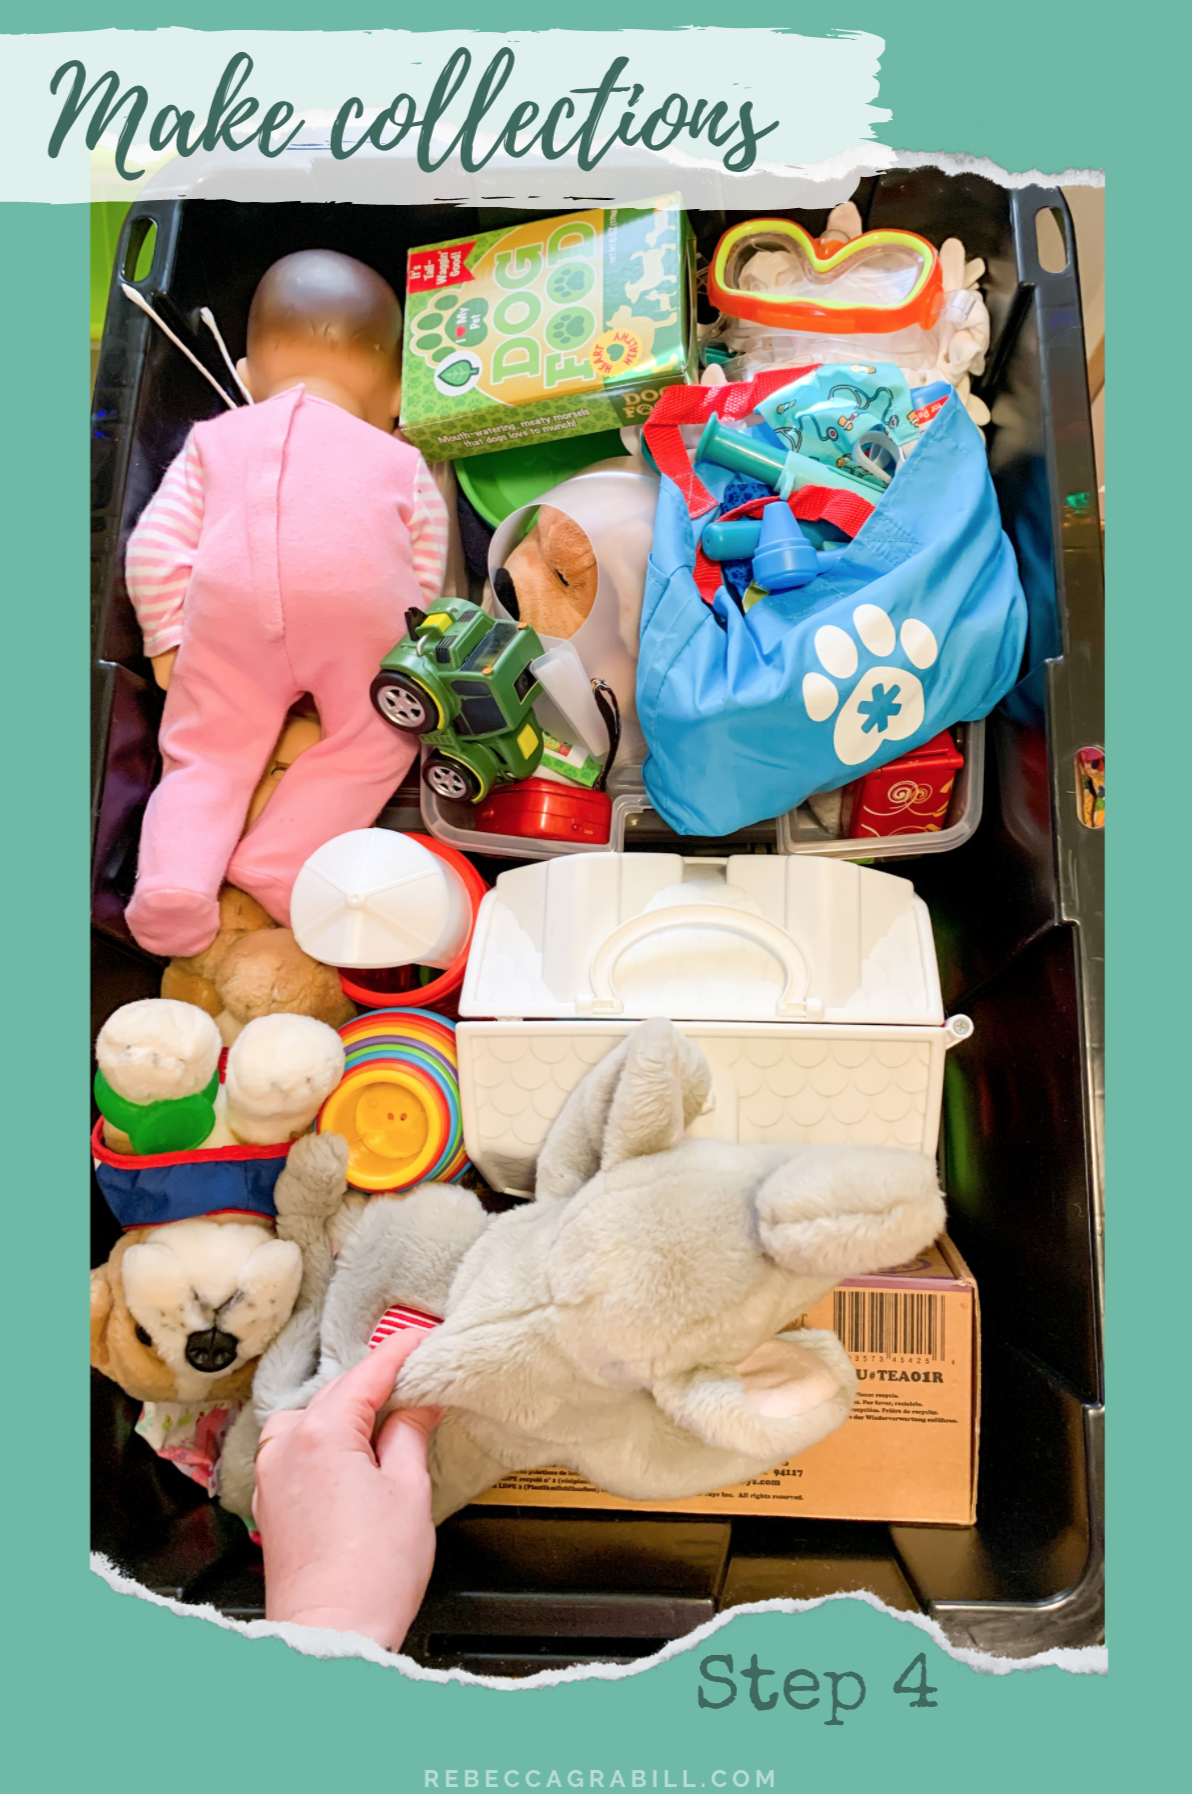
Step 4. Make collections.
Oh, the fun! Some go a little crazy here and dream up Themes for collections, like the Fairy Garden theme (or something) and have all the fairy-ish toys in one bin.
I didn’t do that.
I had four bins, so picked one anchor toy (like an anchor store in a shopping mall—remember those?!?), or “big/building” thing for each bin, and built around that.
I used my categories to ensure I had a good balance in each bin of pretend toys vs. building toys, and to make sure my littlest guy had a favorite in each.
The closest I got to Theme was putting two Bitty Babies in with the doctor/veterinary play set. Because babies and puppies and plastic stethoscopes go together somehow?
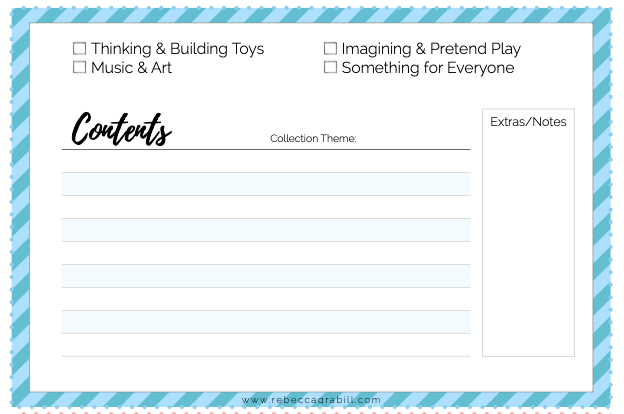
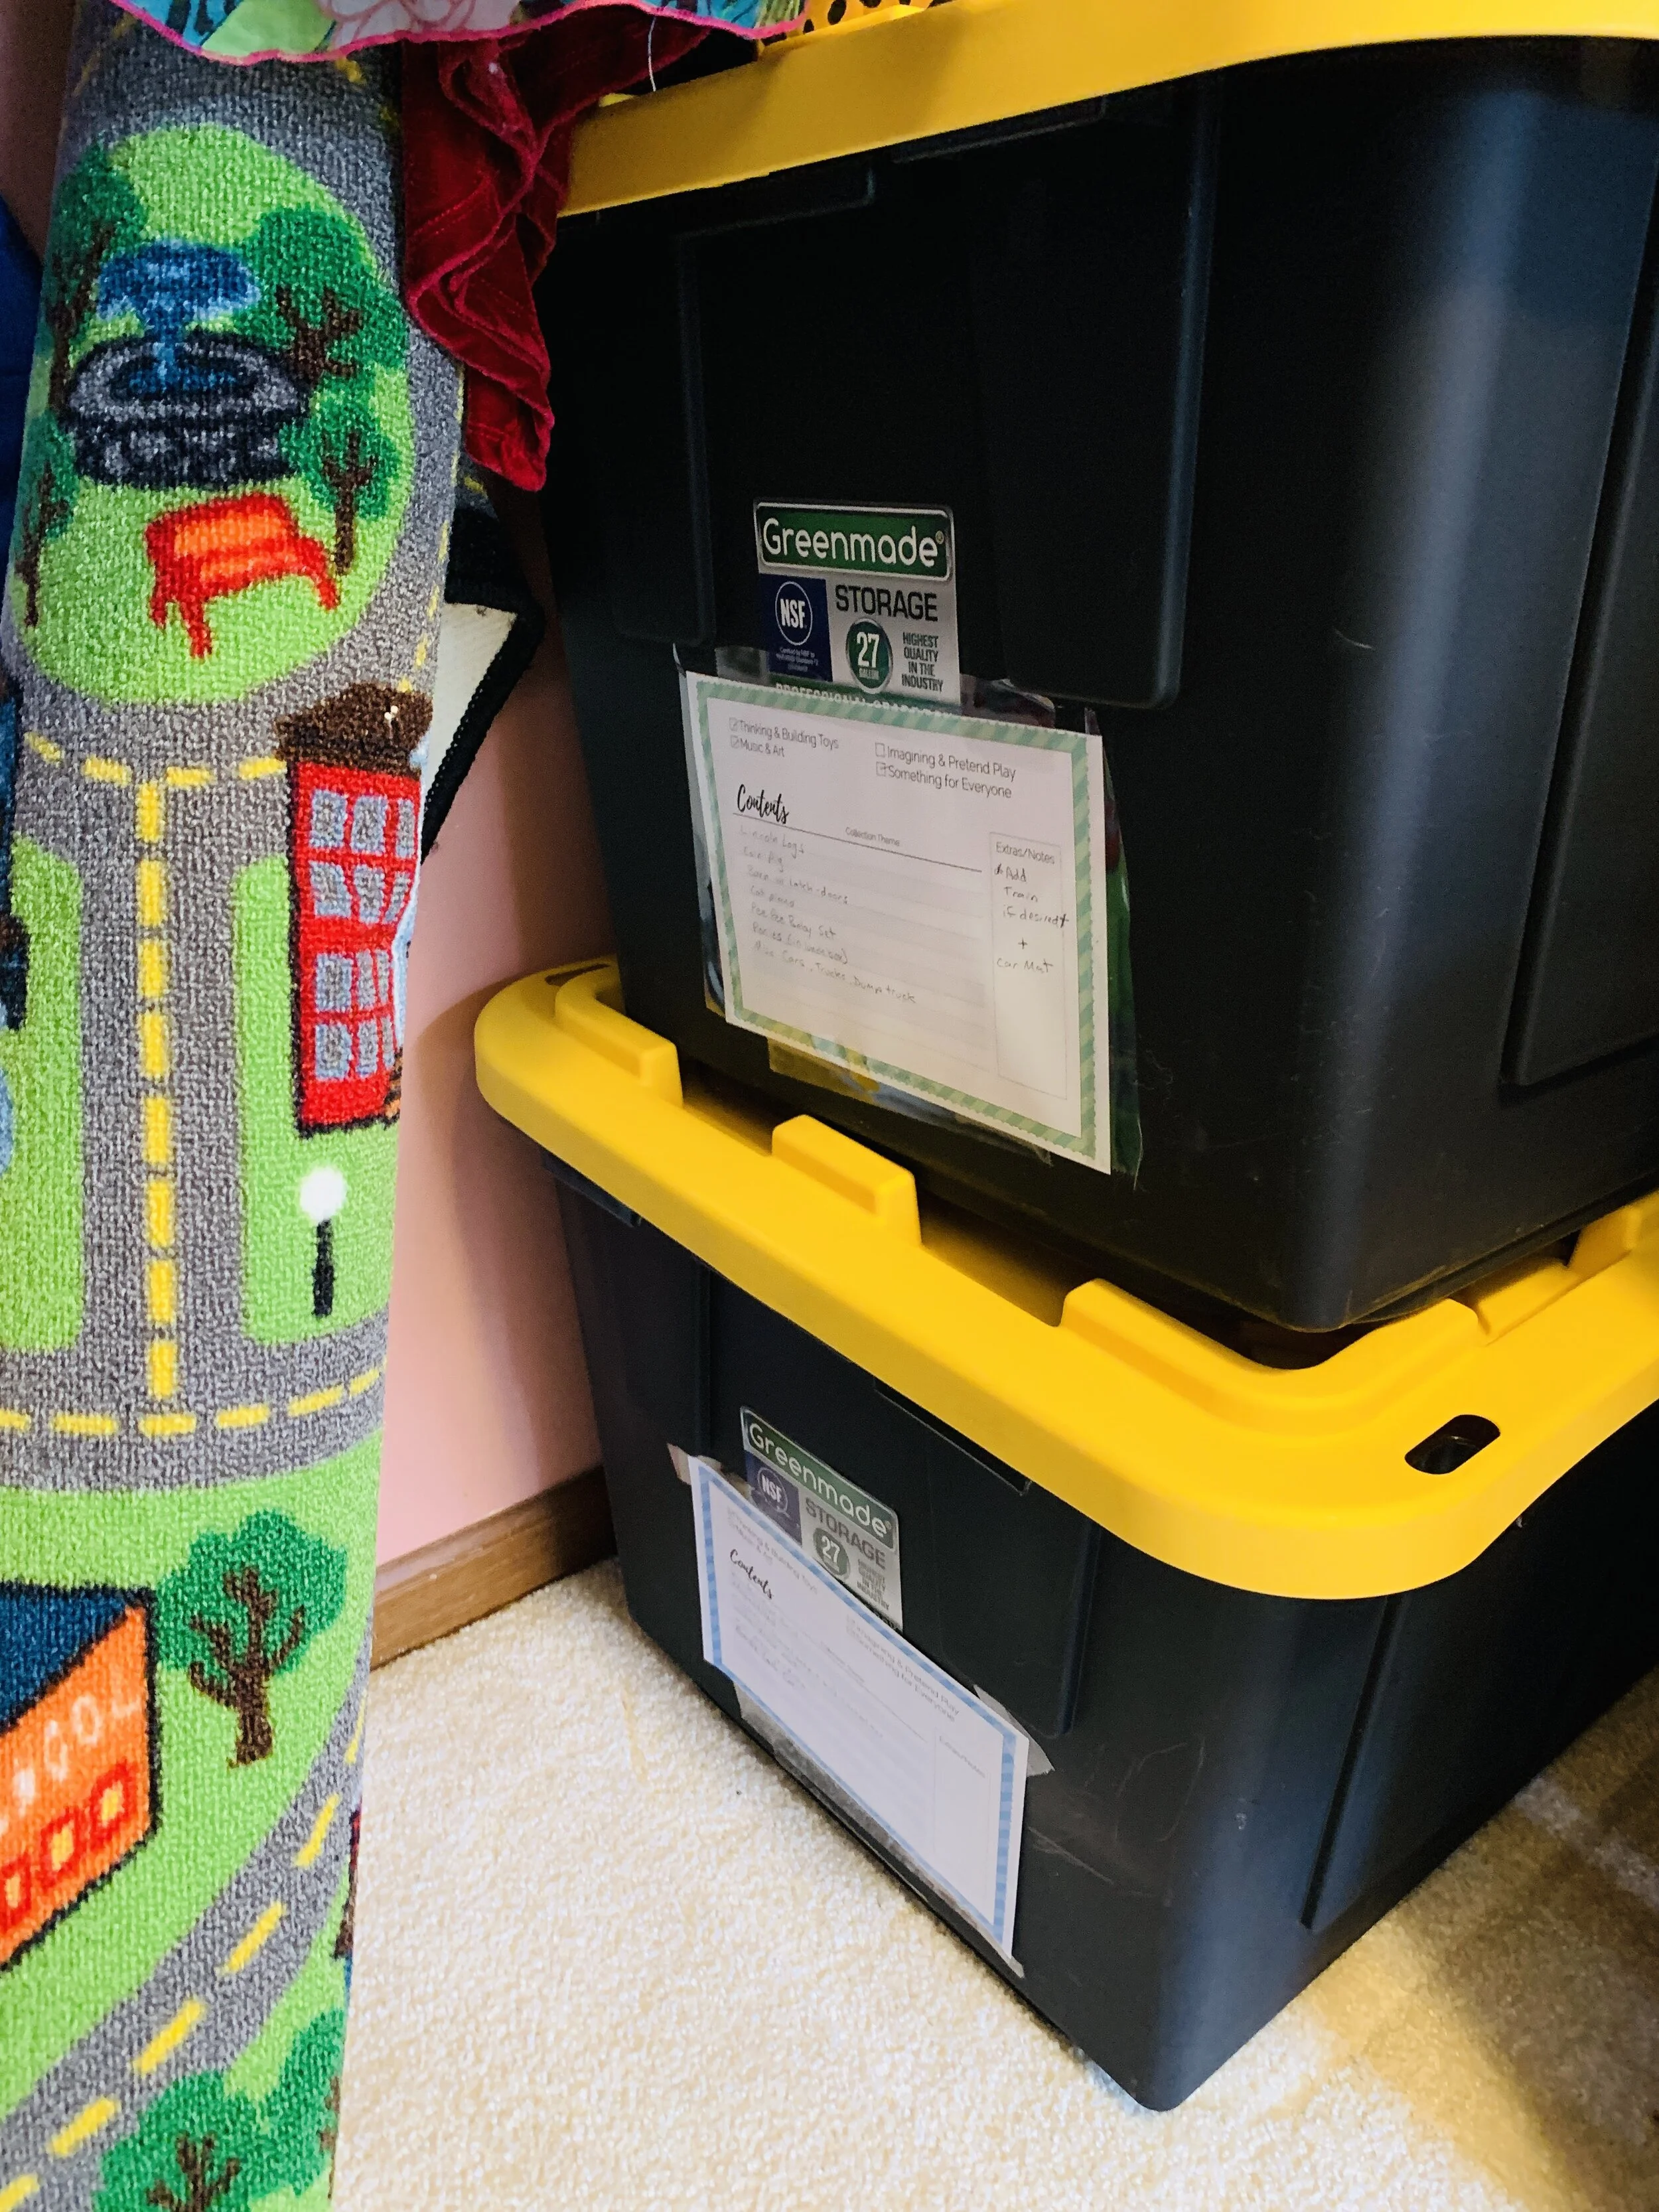
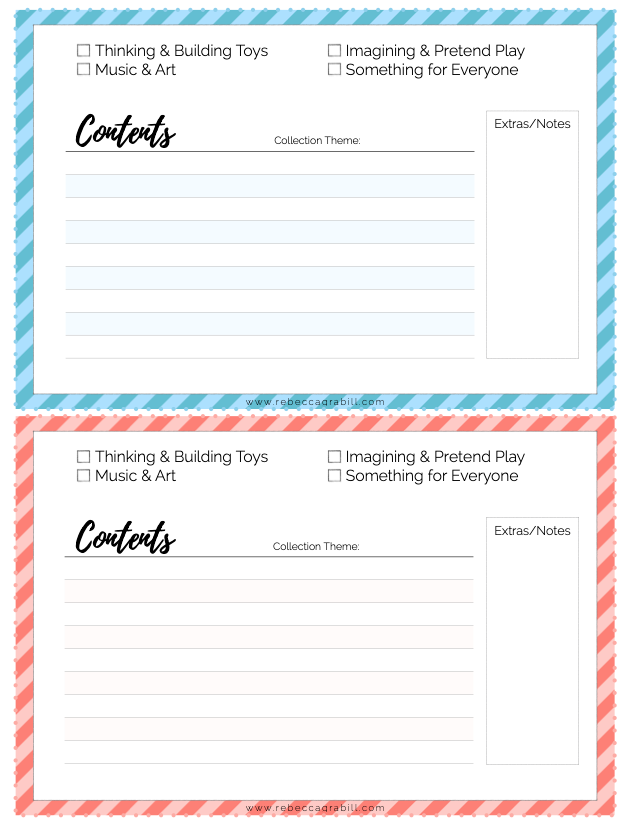
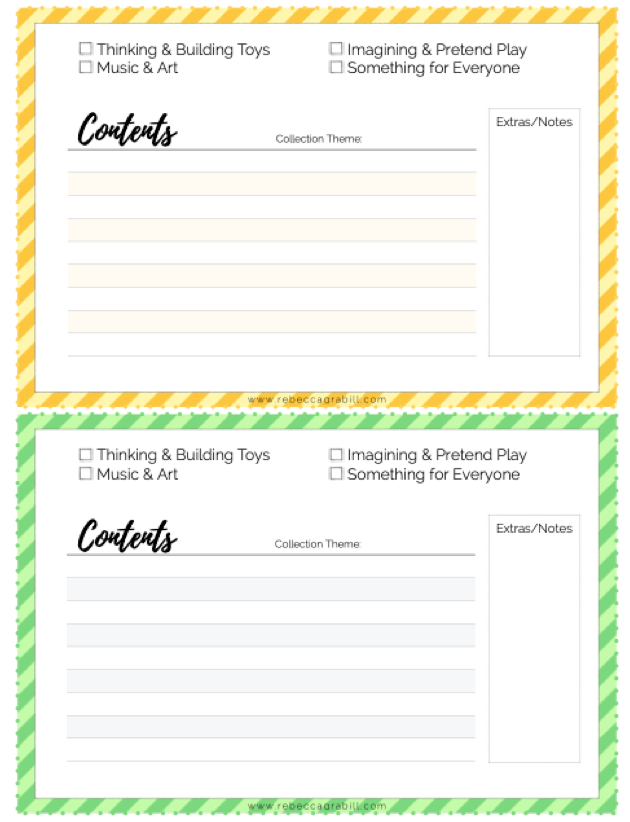
But I did write out (in pencil, because I want my F in Flexibility!) a list of each bin’s contents, and attached that list to the OUTSIDE of each bin! I have since discovered how absolutely essential this is. Like seriously incredibly extremely essential. So essential it necessitates the use adverbs.
My strong suggestion/edict—don’t skip the inventory sheets even if you use clear bins!
Best of best? I created some for you! Scroll down to the end of this post for a free printable with inventory sheets, instructions, and planning sheet.
How many, how much, how often?
You may be wondering how many collections, or how big, or how often to switch them them out.
I guesstimated based on the big pile of toys and figured that if all didn’t fit in four bins, we had way too many toys. Turns out, it DID fit in four bins, but we’ll have to purge with the next birthday/holiday. And that’s a GOOD thing! I already have my eye on a few items that have low play-value that we don’t really need to keep around.
And how often the bins get rotated is entirely up to you. One of our collections seems to be less fun than the others (my kids don’t like Lincoln Logs for some reason?), so while that one may stay out for a week, another collection can be in use for two weeks or more.
When I began writing this, I was recovering from ankle surgery, so one collection stayed out for three weeks. Nobody minded until one child suddenly wanted the Barbies. So I hobbled upstairs, enlisted hubby’s help, and we switched. Everyone is once again happy.
Step 5. Put all but one collection away.
This step might meet with resistance. Some kiddos will suddenly desperately want a toy that’s in the non-active collection. And it’s ok to get that toy, or to switch collections, or to remind them that next week they’ll get to play with Pee-pee Baby, so just be patient.
We did the former with the matchbox cars (those are now Kilian’s available-all-the-time toy), and the latter with Pee-pee Baby. And oh was everyone excited the day Pee-pee Baby came out to play!
As for storage, I just keep them all in the kids’ closet. It’s not pretty. But it’s a closet. The door closes.
“I can say with 100% certainty that my kids have increased play time, and played with toys in new and creative ways.”
How did it go, and where are we now?
My immediate observation: I was surprised by how quickly the kids got on board. I think they actually like having fewer toys out and available. Truly, imagine the decision fatigue. I’d feel it with my “grownup” toys, like if I had three different shredders and four whisks and two food processors… making dinner would be unnecessarily complicated.
After a couple of months: We’ve now cycled through all four bins. Day before yesterday we switched and I’ve honestly had trouble getting the kids *away* from the toys to do school. At this very moment, they’re upstairs playing with the train set that we’ve had since about 2004. A train set that has probably not seen this much excitement *since* 2004.
After about seven months: I am absolutely in love with this system. I recently checked all the bins and updated inventory sheets, added a few things, took some out. The kids, who’d gotten thoroughly bored with the last bin (out waaaay to long—like two months?) are now enthralled with toys they hadn’t seen since before Christmas!
I can say with 100% certainty that since instituting this system my kids have decreased their screen time, increased play time, and played with toys in new and creative ways.
Are you ready to try a Toy Rotation System?
I’ve created a printable cheat-pack for you with instructions, planning page, and collection bin labels available here—for free. Or support this site and the creation of more resources by purchasing it from my shop! If you find it helpful do leave me a comment, I’d love it!
Preview:
Ready to download the Ultimate Guide?
*Special note to teachers*
I use this same principle in my homeschool (why it didn’t carry over into “real” life until recently, I don’t know). I keep crates of hanging folders organized by month, and in each folder: seasonal activities, special toys/sets for learning centers, etc. For example, a game with small red pom-poms, pinchers, and plastic apples is in the September folder. We use it for fine motor, number stories, and so much more! Likewise, the frog life cycle cards and figurines come out in May, and the Halloween sticker and activity book makes its appearance only in October. That’s just to say that a rotation system can be applied to just about anything! We do it naturally with clothing, and isn’t that first sweater-day of autumn absolutely delicious?






I had dreams for my family life, for the kids education, for my own recreation time (which currently clocked in at daily total of zero minutes, zero seconds). I longed to do things like knit, read books with real pages, write for the joy of it. Instead, I was living life of reacting—not to God’s direction—but to people’s momentary expectations, urgent tasks all shoving and bickering to be FIRST on my list. I was desperate to get back to the most important focus of every day...